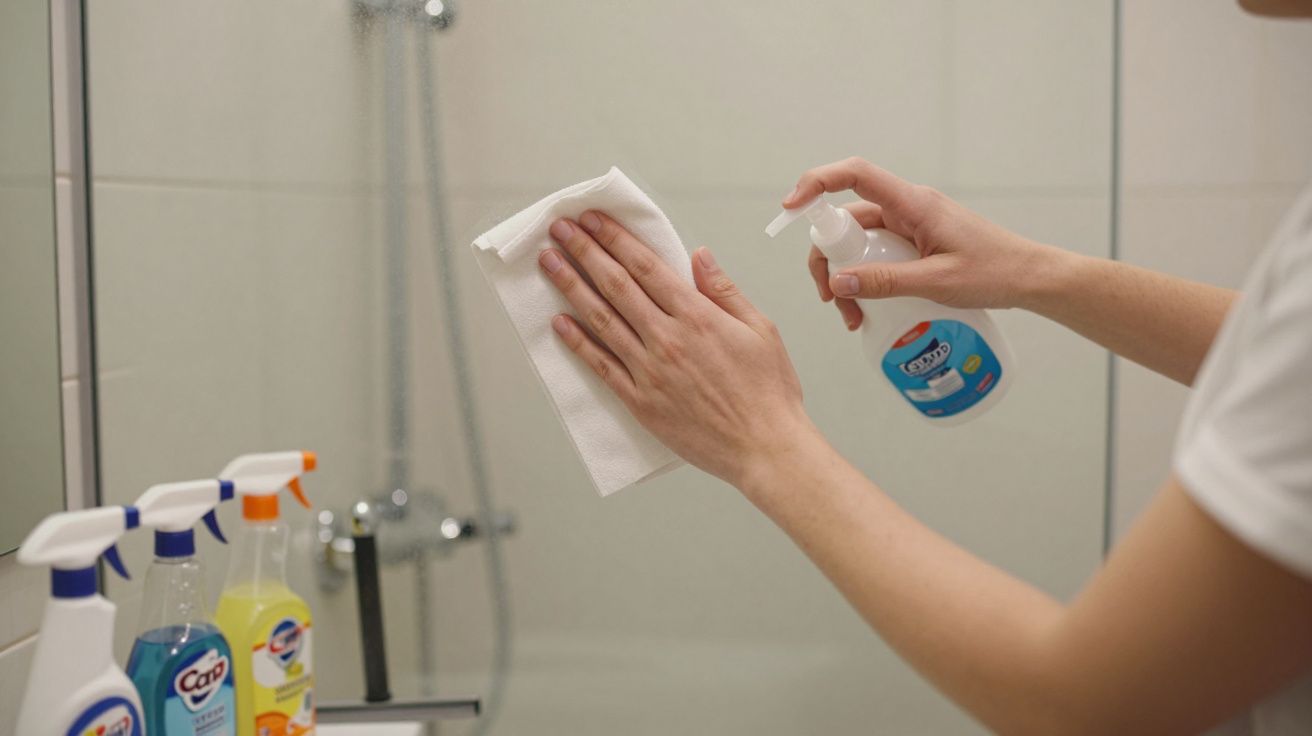
You squeegee. You spray the “power” limescale remover. You buff with microfibre until your arm aches. Then you step back and the shower screen still looks… dull. Under certain angles there’s always that milky haze, those ghostly drips that never quite vanish. It feels like bad cleaning, or bad products, or both.
Cleaners know something slightly different: it’s often not your effort that’s failing, it’s the glass itself. Once hard water and shampoo have had a few years with it, the surface stops behaving like smooth glass and starts acting more like frosted plastic. Sprays can’t fix what’s already been etched in. That’s why more and more professionals are quietly reaching for an unlikely ally: a cheap car‑care product that was never designed for your bathroom at all.
Why your shower screen never looks truly clear
On paper, it sounds simple. Hard water leaves limescale. Limescale remover dissolves it. Job done. In real life, that cycle repeats for years, with soap, body oils, shampoos and cleaning chemicals all joining in. The result is not just a film on the glass, but damage to the glass.
Mineral deposits don’t sit there politely. In hard‑water areas, they bond and harden, then slowly bite into the microscopic pores and imperfections on the surface. Add in abrasive sponges, harsh powders and the odd scouring pad on a bad day, and you’re left with a network of micro‑scratches that catch the light even when the screen is technically “clean”.
From a distance, this reads as cloudiness or streaks that never quite shift. Up close, it can look like faint watermark outlines or a rougher patch where the water always dries in the same place. You’re not imagining it: at this point, you’re partly looking at changed glass, not just dirt.
When limescale sprays quietly stop working
Most bathroom descalers are built to do one thing well: dissolve fresh surface scale. Spray, fizz, rinse, repeat. They’re brilliant on kettles, taps and that chalky white ring that’s only had a week to form.
Where they struggle is with:
- Old deposits that have baked on over years of hot showers
- Heavy build‑up at the bottom edge where water always sits
- Etched outlines where the mineral has already bitten into the glass
You see it in the pattern. The first time you ever used that limescale spray, the change was dramatic. Now you’re on bottle five and the screen looks “better” but never brand‑new. Each clean only ever gets you back to the same dull baseline.
Cleaners describe it as “hitting the ceiling” of what chemicals can do. Once the scale is gone, all that’s left is damage and residue trapped in those tiny scratches and pits. No amount of stronger spray will fill them back in.
The car‑care product cleaners reach for instead
This is where the car aisle sneaks into the bathroom. Many professional cleaners and landlords now use mild car glass polish or windscreen restorer on tired shower screens, especially in rentals that have seen a decade of hard water.
In the car world, these products are designed to:
- Lift traffic film, mineral spots and wiper marks
- Gently polish the outer layer of glass
- Leave a slick, water‑repellent finish so rain beads and runs off
On a shower screen, they tackle almost the same problems. The fine abrasives and solvents help clear out that stubborn haze normal sprays can’t touch, while the hydrophobic layer makes water sheet or bead rather than cling and dry in blotches.
They’re often:
- Cheaper than specialist bathroom “restorer” kits
- Easier to find in any supermarket or discount shop
- More effective on etched‑looking haze than yet another descaling spray
Used properly, they don’t “repair” the glass in a factory sense. But they can even out the surface just enough that light stops catching every tiny flaw. To your eye, that reads as suddenly, finally clear.
What they’re not doing
They’re not magically reversing deep scratches or cracks. They’re not a cure for safety‑damaged or chipped tempered glass. And they absolutely don’t turn a shattered‑looking panel into something safe to keep.
Think of them more like a micro‑exfoliator for glass: removing stubborn residue, smoothing out the very top layer, and sealing it so it behaves more like fresh, easy‑clean glass again.
How to copy the car‑care hack at home (safely)
You don’t need a full valeting kit in your bathroom. You do need to be a bit methodical.
1. Start with a proper deep clean
Before the car product goes anywhere near the screen, strip back what you can:
- Spray a standard limescale remover and leave it for the full contact time.
- Rinse thoroughly, then wash with washing‑up liquid and hot water to remove any remaining product film.
- Dry the glass with a clean microfibre cloth. The surface needs to be clean and dry before polishing.
If you skip this, you’ll just grind old soap scum around.
2. Choose the right car‑care product
Look for:
- A glass polish or windscreen restorer labelled as suitable for car glass
- Non‑silicone, non‑ammonia formulas if your bathroom is small and poorly ventilated
- A product that says “safe for automotive glass” rather than aggressive paint compounds
Avoid anything marketed for plastic headlights, bodywork cutting, or metal; those can be too harsh or oily.
3. Test a small patch
Tempered shower glass is tougher than window glass, but it can still be damaged or its coating stripped if you go in too hard.
- Pick a low‑corner patch.
- Apply a tiny amount of product with a soft cloth, following the instructions.
- Polish lightly for 20–30 seconds, then buff clean and check the result in good light.
If you see improvement and no scratching or rainbow film, you’re probably safe to continue.
4. Work in sections, gently
Treat the screen like a car windscreen:
- Apply a small amount of product to a microfibre or soft cloth.
- Work in overlapping circles on a manageable area (about the size of an A4 sheet).
- Let it haze if the instructions say so, then buff off thoroughly with a fresh, dry cloth.
- Move on to the next section.
You’re aiming for even pressure, not brute force. If your arm is aching, you’re overdoing it.
5. Rinse and admire – then protect
Once you’ve finished:
- Wipe the glass down with a damp cloth to remove any last residue.
- Dry with a clean towel or microfibre.
Many car glass polishes leave a water‑repellent finish by themselves. If yours doesn’t, you can add a car windscreen rain‑repellent or a shower glass sealant afterwards. This makes water behave differently: it beads or sheets off instead of drying in chalky blobs, which slows down future build‑up.
When to stop polishing and call it a day
There’s a limit to what any product can do. Signs you may be at or past that limit:
- The glass has visible chips, cracks or a patterned “misted” look inside the pane
- No amount of polishing changes the haze at all
- You can feel rough patches with your fingernail that don’t improve
At that point, it’s usually not dirt, it’s damage. Continuing to attack it with stronger products or harsher abrasives just risks weakening the glass or wrecking whatever coating it came with.
Sometimes the clearest screen is a new one.
Small habits that keep the screen clearer for longer
Once you’ve put in the effort, the goal is to stay off the polishing treadmill. A few small, boring habits make a big difference:
- Squeegee after each shower to remove most of the water before it dries.
- Leave the door open or the fan on so moisture can escape instead of lingering on the glass.
- Use gentler products regularly rather than harsh ones rarely; it’s easier to prevent build‑up than reverse it.
- Wipe with a microfibre cloth once a week to knock back early film before it becomes visible haze.
You don’t need to be militant. Even doing two of these most of the time stretches out that “freshly polished” look by months.
The oddly satisfying bit
There’s something quietly pleasing about using a £4 car product to solve a problem that three different “bathroom miracle” sprays didn’t touch. It feels like cheating the system a little.
More importantly, it changes how you think about that stubborn haze. Instead of blaming yourself or endlessly changing cleaners, you start to see the glass for what it is: a surface that’s been slowly etched, scratched and coated by the way you use your bathroom and your water supply. Once you know that, you can pick the right tool for the job – even if that tool normally lives in the boot of a car.
FAQ:
- Will this work on plastic or acrylic shower screens? No. Many car glass polishes are mildly abrasive and can scratch plastic. If your screen feels slightly flexible or sounds dull when tapped, treat it as plastic and stick to non‑abrasive cleaners made for acrylic.
- Is it safe to use these products in a small bathroom? Ventilate well: open a window or run the extractor, and avoid breathing in fumes. Wear gloves if your skin is sensitive and follow the safety advice on the bottle.
- How often can I polish the glass like this? For most homes with hard water, once or twice a year is plenty. Over‑polishing isn’t helpful and can wear away factory coatings.
- Do I still need limescale remover afterwards? Yes, but usually much less. Use descaler for routine maintenance and save the car‑care product for when the screen starts to look hazy again.
- Will this void any warranty on a new shower screen? It might. If your screen is still under warranty or came with a special “easy‑clean” coating, check the manufacturer’s care instructions before using anything not specifically recommended.


Comments (0)
No comments yet. Be the first to comment!
Leave a Comment