The nose notices before the eyes do.
You walk into the living room and everything looks fine, but there’s a faint, stale note in the air that wasn’t there a few months ago. Cushions straightened, throw blanket folded, windows cracked open – and yet the sofa smells a little like old jumpers and damp lofts.
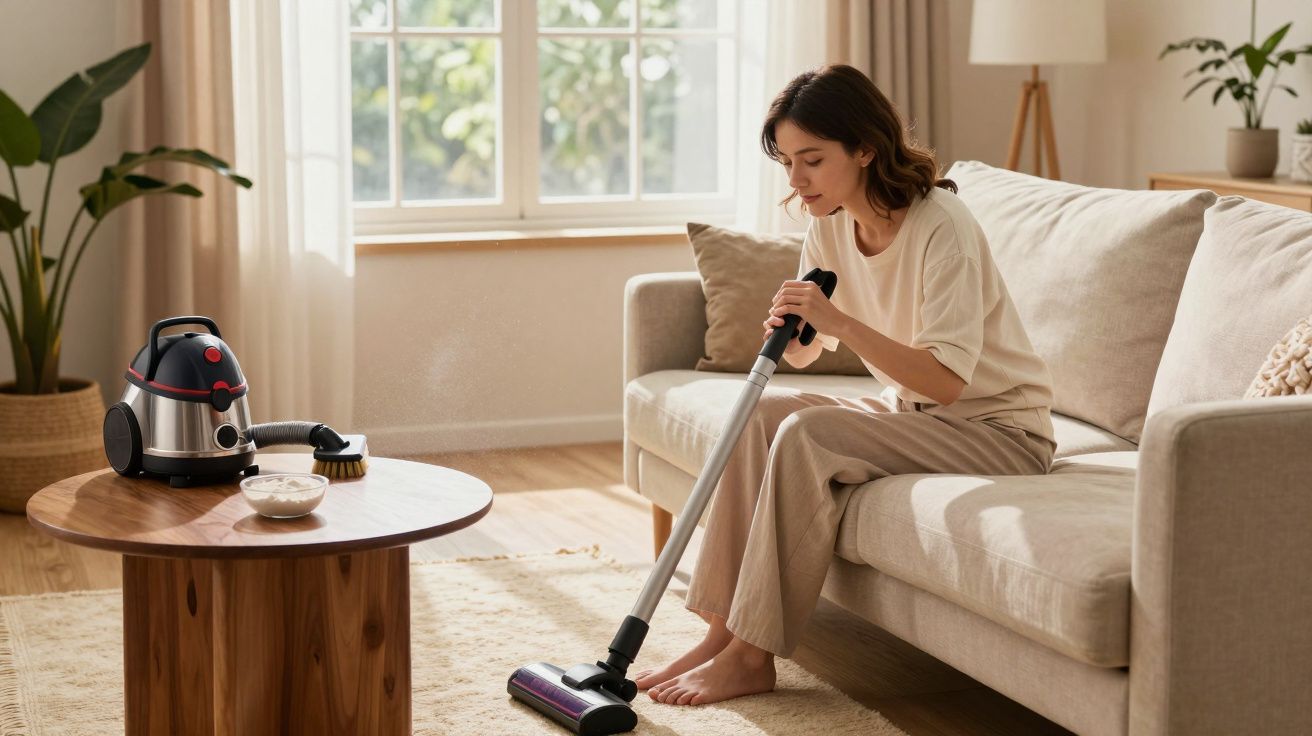
Sprays help for an evening, baking soda feels messy, and the idea of soaking the whole thing makes you picture watermarks and sagging cushions. Professional cleaners face this same problem every week, but their first move isn’t a shampoo machine or a miracle foam. It’s a brush.
What sounds almost old-fashioned – a simple upholstery brush used in a very specific way – is still one of the most effective ways to strip out the musty layer you can smell but not see. Done properly, it freshens fabric, reduces dust and makes any later cleaning product work twice as hard.
A daily companion that quietly stores smells
A sofa’s job is to collect your day: body warmth, skin cells, crumbs, pet hair, spilled tea, the steam from last night’s pasta. All of it lands on or in the fabric, then settles deeper as you sit and move. Add central heating or a slightly humid room and you have ideal conditions for musty odours to build up.
Fibres work like tiny hooks. They grab particles and hold on. Over time, this mix of dust and organic matter absorbs ambient moisture and starts to give off that “old house” smell, even when the sofa looks visibly clean. Vacuuming helps, but a flat nozzle often skims over the top, leaving a compacted layer just below the surface.
Without a way to lift and loosen the pile, you end up deodorising the air while the smell source stays locked in the fabric.
The common mistake that traps the musty smell
Most of us instinctively reach for liquids. A fabric spray, a DIY vinegar mix, even a rented wet cleaner when things feel desperate. Used on a sofa that hasn’t been brushed first, these methods can actually push the problem deeper.
Water and product soak into a mat of fibres, dust and dander. As the surface dries, the inner layer can stay slightly damp for days, especially on dense foam or feather cushions. That’s when a mild mustiness can turn into a more stubborn, damp odour – and in the worst cases, light mould.
The professional reflex is the opposite: lift, loosen, extract before you think about adding any moisture at all. That’s where the upholstery brush comes in.
The upholstery brush technique, step by step
What you need
- A soft-bristled upholstery brush (hand brush or a vacuum brush head with real bristles, not a rubber squeegee).
- A vacuum cleaner with a hose and upholstery setting.
- Two clean microfibre cloths.
- Optional: a small bowl of bicarbonate of soda and a fine sieve for extra odour absorption.
“Think of the brush as a tiny rake for fabric,” explains a professional upholstery cleaner I spoke to. “Its job is to wake the fibres up and bring the dust to the surface so the vacuum can actually take it away.”
The 7-step routine
Air the room and strip loose covers (if possible)
Open a window, remove throws and washable cushion covers and set them aside to launder or air.Dry brush in one direction to lift the pile
Starting at the top of the backrest, brush using light, even strokes in a single direction. Your aim is not to scrub, but to gently stand the fibres up and loosen anything clinging to them.Change direction and cross-brush
Repeat the process at 90 degrees to the first pass. This cross-brushing dislodges dust trapped where threads intersect, especially on woven fabrics.Optional: light bicarbonate dusting
For stubborn mustiness, shake a very fine layer of bicarbonate of soda over seats and armrests using a sieve. Work it in very gently with the brush and leave for 15–20 minutes. It will help absorb odours without soaking the fabric.Vacuum slowly with the brush attachment
Fit the brush head to your vacuum. Working in sections, make slow passes, overlapping each stroke. Let the bristles and suction work together – speed is the enemy here. Tap the brush against a hard surface midway to release collected dust.Detail the seams and gaps
Switch to a crevice tool around piping, buttons and between cushions, where lint and crumbs collect and start to smell. A quick brush beforehand in these areas helps the nozzle reach deeper.Final grooming pass
Use the dry brush once more in your preferred direction to smooth the fabric and lift any last loose particles. Wipe armrests and non-fabric parts with a barely damp microfibre cloth, then a dry one.
On a two-seater sofa, this full routine often takes 10–15 minutes and requires no detergents at all.
Why this “low-tech” method actually works
Brushing changes how the fabric behaves. When fibres are compacted, odour-carrying particles sit trapped in a tight mat with little air movement. The brush:
- Separates and lifts the fibres, increasing airflow.
- Breaks weak bonds between dust, dander and the fabric.
- Brings fine debris to the surface where the vacuum can reach it.
The vacuum then removes not just visible lint, but the fine, slightly sticky dust layer that holds most of the smell. Because you’re working dry, you avoid driving that layer deeper with moisture.
If you add a light bicarbonate step, you introduce a gentle odour absorber without wetting the sofa. The powder sits at the surface, picks up some volatile compounds, then leaves with the vacuum. No perfume to mask the smell, just less source material left behind.
The result is a sofa that smells like very little at all – which is exactly what you want. Any later spot cleaning or professional wet treatment is more effective on a fabric that’s been thoroughly brushed and vacuumed first.
How often to brush – and how little time it takes
You don’t need to do the full ritual every weekend. A realistic rhythm is enough to stop mustiness before it starts.
- Weekly: quick 3–5 minute brush-and-vacuum on seats and armrests in busy homes or with pets.
- Fortnightly: full 7-step routine for the main family sofa.
- Monthly: deeper session including cushion flipping (if possible) and detailed seam work.
- Seasonally: professional clean or DIY wet extraction after a thorough brush routine, especially if there have been spills.
Think of brushing as you would laundering pillowcases: a small, regular reset that keeps the background smell from ever becoming noticeable.
Mistakes to avoid and special cases
- Scrubbing too hard: forces dirt deeper and can distort velvets or delicate weaves. Use several light passes rather than one aggressive one.
- Using a stiff brush on fragile fabrics: silk mixes, loose weaves and some vintage upholstery need a very soft brush or a specialist’s help.
- Overloading with bicarbonate: a heavy layer is hard to remove and can leave pale streaks on dark fabrics. Always dust lightly.
- Brushing leather like fabric: leather and faux leather need a different routine – a soft cloth and appropriate cleaner or conditioner, not fibre-lifting.
- Skipping drying time after any wet cleaning: if you do spot clean, always brush and vacuum first, then ensure strong airflow (fan or open windows) until the sofa is completely dry.
Fabric-specific tips
- Velvet and chenille: brush very gently in the direction of the nap only, then vacuum with low suction.
- Linen and cotton: generally tolerate firmer brushing, but test a small hidden area first.
- Mixed fibre sofas with loose threads: avoid catching loops; if the brush snags, switch to a softer one.
Quick comparison of sofa odour solutions
| Method | Odour removal | Best use case |
|---|---|---|
| Dry brushing + vacuuming | High for light to moderate mustiness | Regular maintenance, first line of attack |
| Fabric deodorising spray | Low to medium (mainly masking) | Short-term refresh before guests |
| Wet extraction / shampoo | Very high but risk of overwetting | Heavy soiling, after proper brushing prep |
A simple action plan for busy households
You don’t need a cleaning day devoted entirely to the sofa. Woven into what you already do, the brush technique becomes almost automatic.
- Sunday evening: quick 5-minute brush-and-vacuum of seats while the kettle boils.
- Second weekend of the month: full 7-step routine, plus washing of any removable covers.
- Change of season: one professional or DIY wet clean, always following a thorough brushing session first.
- Any time you notice a whiff: open a window, brush, vacuum – then decide if you still need a spray.
Over a few weeks, the musty note fades, the cushions feel livelier, and “sofa smell” stops being part of your living room.
FAQ:
- Will this work on a sofa that already smells strongly of damp?
It will usually reduce the smell, but if the foam or frame has been wet (leaks, flooding, heavy spills), brushing alone will not be enough. You may need professional drying and cleaning, and in cases of mould, sometimes replacement cushions or even a new sofa.- Do I really need a special upholstery brush?
You need soft, flexible bristles that won’t scratch or snag. A good clothes brush or a soft-bristled paintbrush can stand in, but hard plastic brushes and stiff scrubbing brushes are too aggressive for most upholstery.- Can I use the brush technique on mattresses and headboards?
Yes, the method is very effective on fabric headboards and mattresses: brush in two directions, then vacuum slowly. Avoid bicarbonate on mattress seams if you have respiratory issues and always ventilate well.- Isn’t it quicker just to spray fabric freshener?
Sprays are quicker in the moment but only perfume the air and upper fibres. The brush technique removes the dust and debris that actually cause most odours, so you need sprays far less often and your sofa stays fresher for longer.


Comments (0)
No comments yet. Be the first to comment!
Leave a Comment